
Snake Bite First Aid: The Australian Method, Done Properly
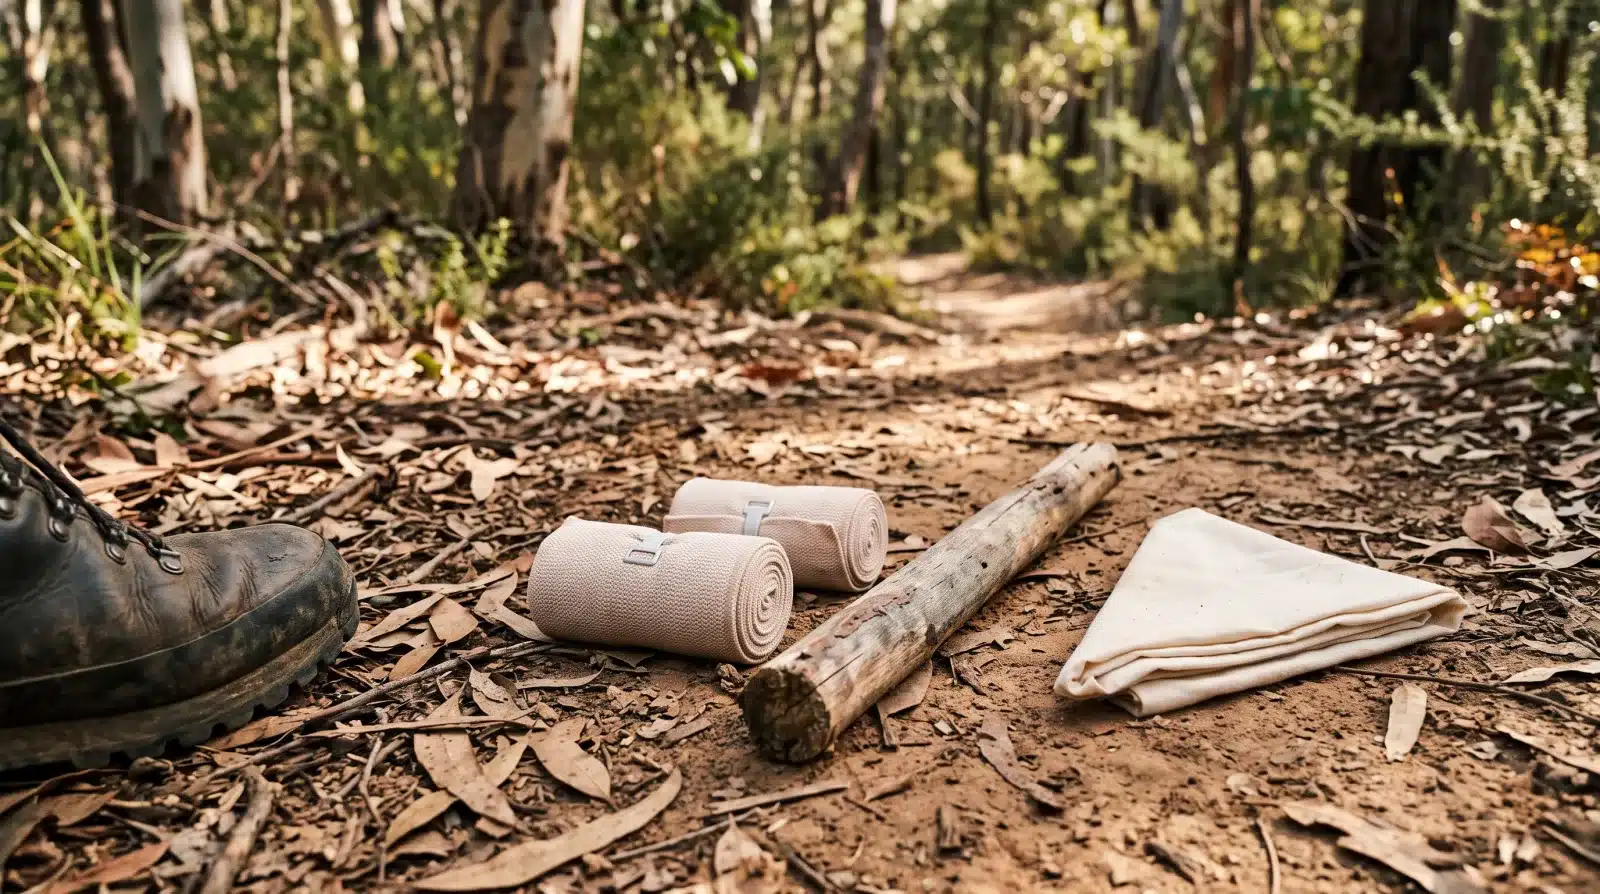
Australian snake bite first aid comes down to a single technique, and it works remarkably well. The reason it works is worth understanding, because it explains every part of the method.
Most Australian snake venom does not travel in the bloodstream. It moves through the lymphatic system, and lymph is pumped mainly by muscle movement. Laboratory research underpinning the Australian guidelines found that very little venom reaches the circulation — even after several hours — if pressure bandaging with immobilisation is applied immediately and maintained.
Which means the objective is not to remove venom, neutralise it, or slow the blood. It is to stop the limb moving. Pressure plus stillness. That is the whole idea, and every mistake below is a variation on forgetting it.
The emergency numbers in this guide are Australian. If you are somewhere else, call your own country’s emergency number instead — 911 in the United States and Canada, 999 in the United Kingdom, 112 across Europe and on most mobile phones worldwide. The advice itself applies wherever you are.
The 10-minute version
- Call 000 first. Then keep the person absolutely still. Movement is what moves venom.
- Bandage firmly over the bite, then bandage the whole limb starting at the fingers or toes and working up. Elasticised, 10–15 cm wide, firm enough that you cannot easily slide a finger underneath. Over the top of clothing is fine.
- Splint the limb, including the joints either side of the bite, and do not remove any of it. Bandages and splints come off in hospital, not in the car.
Do this, in this order
1. Get help coming. Call 000 and ask for an ambulance. Do this before the bandaging if there is anyone else present, or while you are getting the bandage out if you are alone with the patient.
2. Keep the person still. Sit or lie them down where they are. Do not walk them to the car, the house or the track head. If they have already walked, stop them now. Keep them immobilised, reassured, and under constant observation.
3. Apply a pressure bandage over the bite site. An elasticised bandage 10–15 cm wide is preferred over crepe. Apply it over existing clothing if possible — do not waste time undressing the limb.
4. Bandage the whole limb. Apply a further pressure bandage starting at the fingers or toes of the bitten limb and extending upward, covering as much of the limb as you can. This direction matters and is the step people most often get backwards.
5. Get the tension right. The bandage should be firm and tight — you should not be able to easily slide a finger between the bandage and the skin. This is firmer than most people expect. It is not, however, an arterial tourniquet, and it should never be tight enough to act as one.
6. Splint it. Immobilise the limb with a splint that includes the joints on either side of the bite. For an arm, use a sling as well. Anything rigid works — a stick, a tent pole, a rolled magazine, a hiking pole.
7. Bring transport to the patient, not the patient to transport. The patient does not walk. If you are in the bush, that may mean waiting for a helicopter, and waiting is the correct answer.
8. Watch their breathing. If they become unresponsive and are not breathing normally, start CPR. There is no risk of venom transmission to a rescuer performing CPR.
If the bite is not on a limb
For bites on the trunk, apply firm direct pressure on the bite site if that is possible. Do not restrict breathing or chest movement, and do not apply firm pressure to the neck or head.
What actually goes wrong
These four are still taught in pubs, still shown in films, and still cause harm.
1. Washing the bite. Do not. Venom on the skin helps the hospital identify which antivenom to use. Washing it away removes clinical information for no benefit.
2. An arterial tourniquet. Explicitly ruled out in the Australian guidelines, for any bite or sting. It causes limb damage and does not stop lymphatic spread — which the pressure bandage does far better and far more safely.
3. Cutting or sucking the wound. Both are in the guideline’s list of things not to do. You cannot extract meaningful venom, and you add a wound, an infection risk and a second casualty.
4. Trying to catch or kill the snake. The guideline advises against attempting to kill it, specifically because of the risk of further bites — people are bitten a second time doing exactly this. A photograph taken from a safe distance is fine and can help. Approaching is not.
Two more that are less famous and equally costly:
5. Walking to help. Almost every serious case involves the patient moving after being bitten. Walking is the mechanism the whole technique exists to prevent.
6. Deciding it was a dry bite. Fang marks are often faint or absent, and the bite may not hurt much. Waiting to see whether symptoms develop is the wrong test — the right response is to bandage and get to hospital, and let the hospital decide.
Thresholds and reference numbers
| Item | Specification |
|---|---|
| Bandage type | Elasticised, preferred over crepe |
| Bandage width | 10–15 cm |
| Direction | Over the bite first, then from fingers or toes upward |
| Coverage | As much of the limb as possible |
| Tightness | Cannot easily slide a finger between bandage and skin |
| Over clothing? | Yes, if possible |
| Splint | Include the joints either side of the bite; sling for an arm |
| Removal | Never by a first aider — only in hospital |
| Patient movement | None. Bring transport to them |
| Call | 000. Poisons Information: 13 11 26 |
Symptoms to report to the ambulance
Do not wait for these to start treatment — but note them and their timing, because it helps the hospital:
- Headache, nausea, vomiting, abdominal pain
- Blurred or double vision, drooping eyelids, difficulty speaking or swallowing
- Difficulty breathing
- Sweating heavily, faintness, collapse
- Bleeding from the bite site, gums or nose, or blood in urine
- Muscle pain or weakness, especially away from the bite site
Write down the time of the bite and the time the bandage went on. Both are clinically useful and neither will be remembered accurately later.
What it costs
| Tier | Spend | What you carry |
|---|---|---|
| Free | $0 | Knowledge of the technique, plus 000 and 13 11 26 in your phone. Improvise with a torn shirt or a tea towel — worse than a bandage, far better than nothing — and any rigid object as a splint |
| Solid | ~$15–25 | Two 10–15 cm elasticised bandages in the car and two in the walking pack. Buy them in pairs; one is rarely enough to cover a whole leg |
| Better | ~$40–70 | The above plus a snake bite bandage with printed tension indicators, a triangular bandage for a sling, and a permanent marker |
| Remote | $350+ | A PLB, if you walk or work anywhere without reliable mobile coverage. It is the difference between an ambulance being dispatched and nobody knowing |
Tension-indicator bandages are worth the few extra dollars for one reason: under stress, people bandage too loosely. Printed squares that stretch into rectangles at the correct tension remove the guesswork.
The drill: fifteen minutes, twice a year
You will not learn this from reading it. It has to be in your hands.
- Buy two elasticised bandages, 10–15 cm.
- Get someone to sit down and pretend they have been bitten on the calf, over their clothing.
- Bandage over the “bite”, then bandage from the toes up, as far as you can get.
- Check the tension — try to slide a finger under. If it goes in easily, it is too loose.
- Splint with whatever is nearby. Immobilise the knee and the ankle.
- Time yourself. Then swap and let them do it to you, so they know what correct tension feels like.
- Roll the bandages back up and put them back in the car and the pack.
Twice a year, fifteen minutes. Then do a real first aid course, because the compression on a live limb is something worth having felt under supervision.
Frequently asked questions
Should I wash a snake bite?
No. Venom on the skin helps hospital staff identify the snake type and choose antivenom. Washing removes that information and provides no benefit.
How tight should the bandage be?
Firm and tight — you should not be able to easily slide a finger between the bandage and the skin. Firmer than a normal dressing, but never tight enough to work as an arterial tourniquet.
Where do I start bandaging?
Over the bite site first, then apply a further bandage beginning at the fingers or toes of the bitten limb and working upward, covering as much of the limb as possible.
Should I use a tourniquet?
No. Arterial tourniquets are specifically not recommended for any bite or sting in Australia. They cause harm and do not address lymphatic spread.
Do I need to identify the snake?
No, and do not try to catch or kill it — people are bitten again doing that. A photograph from a safe distance can help. Australian hospitals can manage envenomation without a positive identification.
Can I take the bandage off if it looks too tight or their foot is cold?
No. Bandages and splints stay on until the patient has been assessed in hospital. If you have genuine concerns, tell the ambulance crew what you did and when.
What if I am on my own and bitten?
Call 000 first, then bandage what you can reach and stay still. Do not walk out. If you have no coverage, a PLB is what solves this problem — which is the argument for carrying one if you walk alone.
This article is general information, researched from the sources listed below and not reviewed by a professional in the relevant field. Check the sources, and get advice or training suited to your situation. Read our full disclaimer.